
Oliver #1 Pattern Makers' Vise Refit

Updated: Oct 7, 2023

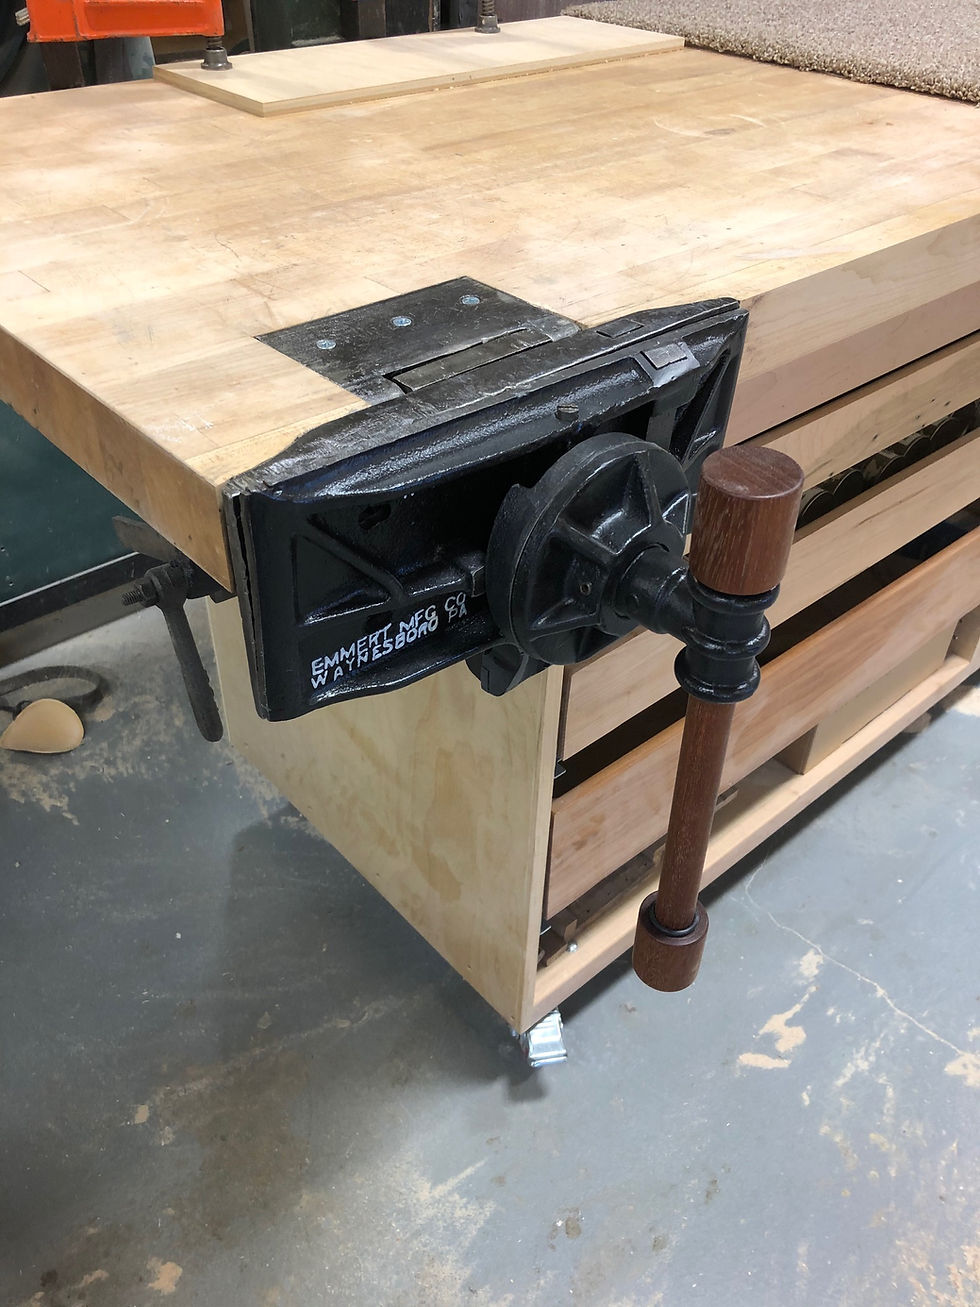
Hey All, we got this Oliver #1 Pattern Makers' vise back in 2008 and it has served very well replacing the Emmert's Pattern Makers' vise that we had on the bench before. This is our main workbench we call "Fab 1". During our recent move to Texas, that end of the bench got a little wet during a rainstorm while unloading the semi trailer. Moving is never perfect. This isn't exactly a restoration because I did that in 08, and I like the 15 years patina we have put on it, so I don't want to paint it again. The one thing I did not like was the original hinge was broken and we had to get an aftermarket replacement that was a rough casting. Here is a pic of that;

At the time we did not have a way to machine that but now we do. We have owned a little Boyer & Shultz 6" x 12" surface grinder for several years now. Here is a pic of the SixTwelve Deluxe;

Sweet little machine that everyone needs! I use this little machine to tune up a lot of stuff in the shop. Since I had to "reset" the vise anyway, and do some work to the benchtop, I thought now would be a good time to grind this to a finished surface like the rest of our vises. So here we go, a little disassembly first. The hinge pins were already drilled and tapped for very easy removal. I might have done that 15 years ago, I really don't remember.
Oliver #1 Vise Disassembly Oliver #1 Vise Disassembly Oliver Vise Hinge Pin Removal Oliver Vise Hinge Pin Removal Oliver #1 Vise Hinge Removed Oliver #1 Vise Hinge Removed
Easy Pezy, Now lets have some fun on the grinder, backside first;
Oliver #1 Vise Hinge Back Side Oliver #1 Vise Hinge Back Side Oliver #1 Vise Hinge Back Side Oliver #1 Vise Hinge Grinding Oliver #1 Vise Hinge Grinding Oliver Vise Hinge Part Number Oliver Vise Hinge Part Number Oliver Vise Hinge Part Number
Back is done, notice the model and part number in the casting. The Oliver model number is 247 and the part number is 5. Pretty cool. Now for the top side;
Oliver Vise Hinge Grinding Oliver Vise Hinge Grinding Oliver Vise Hinge Grinding
Nice! So satisfying! Now reassembly and mounting; I use #14 x 1 1/4" flat head screws to attach hinge to bench. I also had to shim the mortise a little, because of the grinding.
Oliver Vise Mounting Mortise Oliver Vise Mounting Mortise Oliver #1 Vise Hinge Test Fit Oliver #1 Vise Hinge & Body Oliver #1 Vise Hinge Test Fit Oliver #1 Vise Body Clamp Oliver #1 Vise Body Clamp Oliver Vise Hinge & Body Clamp Oliver Vise Hinge & Body Clamp Oliver Vise Hinge & Body Clamp
Now the back Jaw:
Oliver #1 Vise Back Jaw Oliver #1 Vise Back Jaw Oliver #1 Vise Back Jaw Oliver #1 Vise Back Jaw Oliver #1 Vise Backer Threaded Oliver #1 Vise Backer Threaded Oliver #1 Vise Backer Threaded Oliver #1 Vise Bench Alignment Oliver #1 Vise Bench Alignment
Side note, for those that might be wondering. I don't change drill bits, I change drills.

Now the front jaw; but first this vise has the buttress thread on the main screw. I have been told that was pre 1926, and then they went to the acme screw after that. The Oliver patternmakers' vise first appeared in the 1922 Oliver catalog. I'm not sure when they were first made. We currently have three of these vises and one has the acme screw, newer version. Here is a pic of the buttress thread;

So this vise is about 100 years old, how cool is that? It is nice to have a helper to get the front jaw screw started again. I luckily got this one myself pretty easily.
Oliver #1 Pattern Makers' Vise Oliver #1 Pattern Makers' Vise Oliver #1 Pattern Makers' Vise Oliver #1 Pattern Makers' Vise Oliver #1 Pattern Makers' Vise Oliver #1 Pattern Makers' Vise
That's a wrap and it looks very natural to me. Looks just like my old bench!
Thanks for looking! Life is short, enjoy your projects!


Comments